

In the past, patches were more expensive than other customizing techniques. Reduced prices and minimum quantities are the results of improvements in manufacturing processes. For small-scale users, this is a positive development.
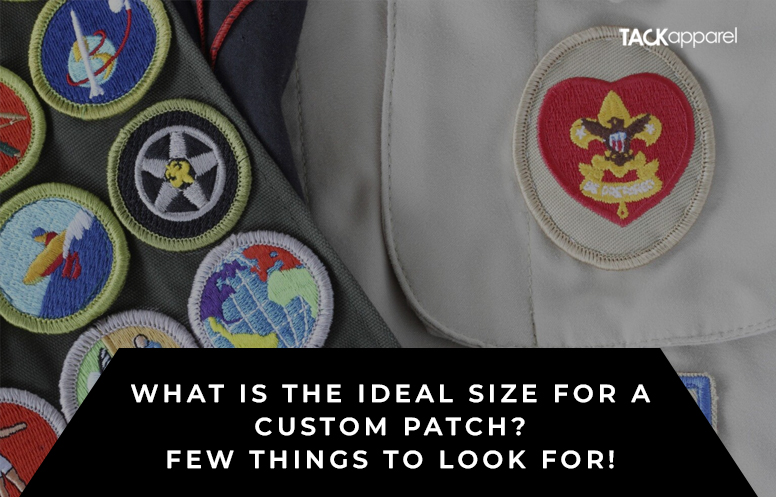
The most fascinating aspect of patches today is the wide range of eye-catching designs available. This article was put together to assist you in selecting the best look for your business (or DIY project). This includes a description of each style, design advice, and ideas for where to position your logo.
To clothing and uniforms, custom patches bring flair and appeal. Businesses, groups, sports teams, private schools, and clubs utilize these personalized objects to identify their staff, volunteers, clients, players, students, and members.
It gets challenging to respond when asked what the appropriate brand patch size is. since a patch is a customized object. Depending on who is placing the order, the organization, or the person, the sizes are chosen.
But there are several factors you may use as a starting point to choose your patch size.
Calculating Patch Size
Understanding how to calculate patch sizes is important if you want to order a unique patch for your company or group. Everywhere in the world, a common method is used to determine the patch size.
You must double the height by the width for any insignia you use. After the value has been added, divide it by two to determine the precise patch size. For instance, you must first determine the length and width of the patch you want for your football team.
Let’s say you want a symbol that is 2 inches tall and 4 inches wide. Therefore, 2 inches plus 4 inches equals 6 inches. The value must now be divided by 2. 3 is obtained when we split 6 by 2. Thus, your patch size in this instance is 3.
Guide For Standard Different Patch Sizes:

Even though there are many various patch size options available, customers frequently inquire about the ideal size. To answer that question, I would say that it all relies on the surface you want to patch and the type of patch you desire.
Depending on the type and size of the patch, the quality will undoubtedly vary. This is the case since each patch has a specific size that it looks best on. However, it is well-known that the patch will have higher details and quality as its size increases. A 4-inch patch is unable to hold the kind of detail that a 9-inch patch can, particularly when it comes to custom embroidery patch sizes chart.
So let’s say you’re trying to find the typical patch size or the appropriate patch size for a particular surface. In that situation, a list of various patch applications and the optimal patch size for each is provided below:
Boy And Girl Scout Patches
Around 3 inches is the size of the typical patch.
Official Patches For Police Duty
The best police patch size is between 4 and 5 inches, whether it is for the security or fire departments.
Patches For Biker Clubs
The size needs to be larger because the biker patch placement features numerous elements, including the name of the club. Consequently, the typical patch size for bikers is 12 inches. The back of their coats is a good location for it.
Logo Patches
The corporate and academic worlds make excessive use of these patches. The patch must be large enough to display the brand name or school’s logo. As a result, 3.5 inches is typically the conventional patch size for logo patches.
Athletic Patches
When it comes to sports patches, quantity is frequently more important than size. The majority of the time, these patches include the player’s number and sponsors. This is why sports patches are often no larger than 3 inches.
A Jacket’s Patches
There is no limit to how big or small you can make jacket patch ideas. You can have a patch that is 2 inches wide or 13 inches wide; either way, it will probably look fantastic.
You can always consult a patch size chart if you’re still unsure of the size of the patch you require. These will enable you to select the appropriate size for the type of surface you intend to use it on.
Fire Patches
For custom firefighter patches, the most common height range is 4′′ to 5′′.
Hat Patches
What’s the right size for patches on hats? There isn’t much room for a large patch when we look at the whole surface area of any hat. As a result, the hat patch sizes range from 2 to 3 inches.
Soccer Patches
3″ is the most popular size for custom soccer patches.
How Do I Make a Custom Patch?

Custom patches are likely already something you’re familiar with. You’ve probably seen fire department patches ideas or the military motorcycle vest patch placement many times. You must follow these instructions if you wish to create something resembling those bespoke patches.
1. Conceptualizing a Patch
Each of us is born with just one notion. Since this is the case, it makes sense that this is the first action. You must develop a compelling concept, theme, or back patch ideas. especially if you intend to sell it.
We do know that consumers make purchasing decisions based on attractiveness. A more appealing design will appeal to more potential customers and purchases. They won’t reach for their wallets if they dislike the patch designs or styles.
The time and effort needed to develop a compelling concept are necessary if you want your custom patch design to stand out. This can be a logical next step for you if you have experience creating stuff. If you’re having trouble coming up with ideas, some premade designs are available online. There are typically hundreds of designs and patch styles available on websites where people also sell their creations. Only choose the option that appeals to you the most.
2. Make The Design Digitalize
No matter what graphics application you use to generate your designs, embroidery machines cannot read them. The following stage involves digitizing the patch’s design. To understand digitalization better, imagine your design file as having an instruction manual.
so that when it is inserted into the machine, your embroidery machine can decipher the instructions and sew the pattern. Few people possess this expertise, and even fewer are aware that it must be mastered before sewing the finished item together.
You should be aware that not every embroidery machine can open every type of file. Ensure that your computer can open the file formats you require.
3. Pick Cut a Patch Material
Where would you place your customized patches when your scanned design is prepared to be embroidered on your embroidery machine?
Many supply business, sells a variety of basic fabrics. Their range of sizes, hues, and textures is essentially infinite.
The two most popular patching textiles are Patch Twill and Patch Material. Let’s examine these two materials in more detail to see which is the most appropriate for your bespoke patches.
A 100% polyester appliqué fabric known as Patch Twill is available in rolls. If you look attentively, the Patch Twill has a continuous pattern (or tileable texture). This clothing is free of all faults, including frayed edges and loose threads.
Patch material requires some time before you can start utilizing it. It only requires unrolling, cutting with scissors to the required size, and completion. Because a unique coating is already applied to the reverse of the material when it is created, HeatSpun is incredibly simple to use. It can be compared to a very thin layer of adhesive. Y
A bag that has been rolled up and taped shut contains the patch material. You can distinguish the two only by placing your palm on it. It is thinner and lighter than Patch Twill, for starters. Due to the lack of adhesive on the back, it is soft and malleable but challenging to work with the hoop. It is advised that the material be covered with heat spun as a result to assist stabilize it.
You may choose the option that is best for your company now that you are aware of the distinctions between Patch Twill and Patch Material.
4. Choosing The Correct Patch Size

Since every patch we provide is designed specifically for each customer, there is no standard size for them. Our sales representatives can provide popular sizes of previously completed patches. The size that will work best for your custom embroidered patch is frequently determined by the artwork or design concept.
The most typical standard patch sizes that we have produced in the past are listed below:
Military Patch the average size of the left chest logo shield: is 3.5-4″ Shoulder Shield Rectangle: 3-3.5″ Tab: 3″x1″ or 3″x2″ Circle: 3″ round
5. Sew a Hoops
The patch material has been cut to the appropriate size, and your unique patch design is ready to be embroidered.
Before you start sewing and stitching, the foundation material needs to be hooped. This stage calls for hoops, which are typically provided with embroidery machines.
Hooping is an easy activity. All you have to do is center the fabric in the embroidery hoop to embroider your personalized patches. It will be simpler and tighter to embroider on the fabric as a result. Depending on the patch fabric you select, this process may involve fewer or more steps.
Heat spun is required if you wish to utilize patch material. The stability of heat-spun material makes it less likely to slide through the hoop than other materials.
Before hooping, make sure the custom patch material has been heating spun. To attach the heat-spun layer to the patch material’s reverse side before sewing it on, you’ll need a heat press.
The patch material will now have an adhesive layer applied to it after being ripped out of the heat press. You can use Tempo Spray to adhere the patch’s backing to the rear. It can then be hoisted. The adhesive backing is another name for this procedure.
You won’t need to worry about doing any extra steps when using Patch Twill, so you can start hooping right away. Once the patch has been sewn and hooped, your embroidery machine will be prepared for usage. There won’t be many sutures required. You can sew using a blanket stitch or a zigzag pattern, which may work better for a variety of various forms.
The tracing can be finished and accuracy confirmed before the embroidery process starts. You must cover the repairs in heat sealant when you’ve finished the repairs.
6. Put It In Place By Using Heat Sealing
When the patch is taken out of your sewing machine and flipped over, the thread and stitches will be visible.
All of the threads on the rear can be sealed with a material called Heat Seal. It comes in paper form, with a glue layer on one side. If you select Patch Twill or Patch Material, you must heat seal both of these fabrics.
Making the edge appealing and sanding the surface makes it easier to cut around and conceals flaws. Cut a piece of heat seal to the same dimensions as the patch to start. The bottom plate of the heat press should be covered with a typical finishing sheet.
When you do this, make sure your patch is facing you. Place the top layer of the heat seal, the other half of the finishing sheet, and the patch in a sandwich fashion. Remove it once you’ve finished pushing for 10 to 20 seconds.
The heat seal adhesive will solidify and stick to the patch during this period. The patch needs to be removed after it has cooled.
7. Cut Your Patch
The patch must then be separated from the surrounding material. You will need a hot cut edge for this, thus you will need a hot knife. Now that the hot knife has warmed up, it is time to utilize it.
The process is easy to follow. Make sure you are working on a transparent surface to start with. Even a hot knife cannot burn or cut through the glass at these temperatures.
The edges of the patch should be drawn with the hot knife in a fluid motion. The patch will start to separate from the rest of the trash. Even if the cut is flawless, there can still be some material surrounding it.
Don’t panic, there’s a way to make this right. The rough material remaining around the patch’s edge can be melted using the hot knife’s barrel. The heat seal on the patch has been turned over, and it is now prepared to be heated and attached to whatever piece of clothing you select.
What can be done has no boundaries! Custom patches can be an entertaining and profitable alternative for your consumers if you have the necessary materials and equipment. You’ll quickly have a patch that is finished.
FAQs
Is It easy To Make Patches?
There have never been more ways to personalize clothing, and patches are more common and less expensive than before. Applying this knowledge when creating your next custom patch will help you achieve excellent outcomes.
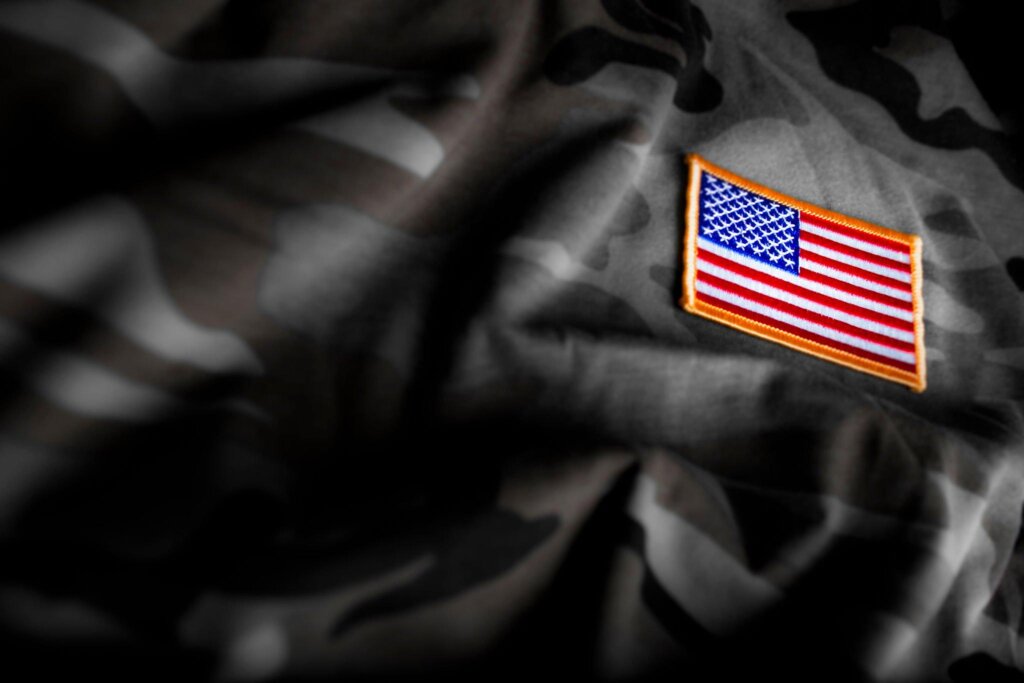
What Size Are Most Military Patches?
The most common size for military patches is 3′′x2′′, which is also the size of regular flag patches.
What Size Should a Patch Be For a Shirt?
There is no set size for patches, however, there is a definite trend that they often range from 3 to 5 inches. You have the greatest positioning flexibility when using these measurements. Since it may be used in a variety of situations and doesn’t require a certain positioning, this site is useful.
What Is The Standard Size For a Hat Patch?
The best overall size is between 2 and 2.25 inches tall, but there is no set size because each one has a different front that can be inscribed. About the overall appearance, the width will be.
Final Words
Patches are once again rising in popularity. It is a great method to be distinctive and stand out from the crowd. People will be able to see that the design is unique and not mass-produced, which also showcases your artistic side. The days of wearing expensive brands as a status symbol are long gone!
Nobody can predict when they might require a special patch. The patch’s size is a significant characteristic among many others. The best course of action is to seek out assistance from a group.
Related : How to attach embroidered patches.
Related : 9 different types of patches .


